Unlock the Secrets to Perfectly Moist Shredded Chicken Every Time
Shredded chicken is a culinary chameleon, a foundational ingredient that effortlessly transitions from starring in hearty casseroles to topping crisp salads, filling zesty tacos, or building the perfect sandwich. While store-bought rotisserie chicken offers convenience, mastering how to cook shredded chicken at home opens up a world of superior flavor, texture, and control. Forget dry, stringy disappointments – this comprehensive guide will equip you with essential cooking secrets to achieve perfectly moist, tender, and incredibly flavorful shredded chicken, every single time.
Beyond its versatility, cooking your own shredded chicken ensures you know exactly what goes into your food, from the quality of the poultry to the seasonings. It's an empowering skill that elevates everyday meals and makes meal prep a breeze. Let's dive into the core techniques that will transform your chicken game.
Choosing Your Canvas: The Right Chicken Cuts & Quality
The journey to perfect shredded chicken begins with selecting the right foundation. Your choice of chicken cut significantly impacts the final texture and juiciness:
- Boneless, Skinless Chicken Breasts: These are a popular choice due to their lean protein content and faster cooking time. While they can be prone to drying out if overcooked, with the right techniques, breasts yield tender, light shreds perfect for salads and lighter dishes.
- Boneless, Skinless Chicken Thighs: Often lauded by chefs for their inherent juiciness, thighs contain a slightly higher fat content, which translates to richer flavor and a more forgiving, tender shred. They take a little longer to cook but consistently deliver succulent results, ideal for saucy dishes or anything where moisture is paramount.
Pro Tip on Quality: Whenever possible, opt for free-range, organic chicken. Chickens raised without harm, in more natural conditions, often develop superior muscle structure and flavor. This translates directly to a better tasting and feeling final product, a difference you’ll notice in the finished shredded chicken.
Building Flavor from the Ground Up: Pre-Cooking Seasoning
Don't wait until the chicken is cooked to infuse it with flavor. Seasoning the chicken before it hits the heat is a crucial step that allows the spices and herbs to penetrate the meat, creating a deeper, more satisfying taste. Think beyond just salt and pepper:
- The Essentials: Always start with a generous pinch of kosher salt and freshly ground black pepper. These enhance the chicken's natural flavors.
- Aromatic Powerhouses: Garlic powder, onion powder, and smoked paprika are fantastic for a savory base.
- Herbal Notes: Dried oregano, thyme, rosemary, or even a poultry seasoning blend can add layers of complexity.
- Spicy Kicks: Cumin, chili powder, or a dash of cayenne can introduce a gentle warmth or a vibrant heat, depending on your preference and the dish's intended use.
Rub your chosen seasonings evenly over all surfaces of the chicken pieces. This simple act primes the chicken to absorb flavor as it cooks, resulting in shredded chicken that's delicious on its own and even better integrated into recipes.
The Art of Moist Cooking: Methods for Succulent Shreds
The most critical factor in achieving perfectly moist shredded chicken is the cooking method itself. The goal is to cook the chicken gently, surrounded by moisture, preventing it from drying out. Here are the top contenders, each offering unique benefits:
Easy, Juicy Shredded Chicken: Master 4 Moist Cooking Methods for an in-depth look at each technique!Poaching: The Foolproof Path to Tenderness
Poaching involves simmering chicken gently in a liquid until cooked through. It’s arguably the easiest and most reliable method for consistently moist and tender results.
- How it Works: Place chicken breasts or thighs in a pot and cover them with water, chicken broth, or even a mix of water and white wine. Add aromatics like bay leaves, peppercorns, onion halves, or celery stalks for extra flavor. Bring the liquid to a gentle simmer (not a rolling boil), then reduce the heat, cover, and cook until done.
- Why it's Great: The low, steady heat ensures the protein cooks evenly without seizing up, retaining maximum moisture. Minimal cleanup is a bonus!
Braising: Flavor-Packed & Tender
Braising offers a deeper flavor profile compared to poaching. It involves browning the chicken first, then slowly cooking it in a small amount of liquid in a covered pot.
- How it Works: Lightly brown the chicken in a hot pan with a touch of oil to develop a flavorful crust. Then, add a small amount of liquid (broth, sauce, or even diced tomatoes) to the pan, cover tightly, and simmer gently on the stovetop or bake in the oven. The trapped steam creates a moist environment.
- Why it's Great: The initial browning creates rich, complex flavors, while the slow, moist cooking ensures incredible tenderness.
Stewing: Immersed in Richness
Similar to braising but typically involving more liquid, stewing cooks chicken directly in a flavorful sauce or gravy. This method is excellent when you want the chicken to absorb the rich flavors of a hearty sauce.
- How it Works: Cut chicken into larger pieces (or use whole breasts/thighs) and submerge them in your chosen sauce, stew, or gravy. Simmer gently over low heat, covered, until the chicken is fully cooked and fork-tender.
- Why it's Great: The chicken becomes infused with the dish's flavors, making it incredibly delicious and perfectly integrated.
Steaming: Gentle & Healthy
Steaming is a very gentle cooking method that uses moist heat from boiling water to cook the chicken.
- How it Works: Place chicken in a steamer basket above boiling water, ensuring the chicken doesn't touch the water. Cover the steamer tightly and cook until done.
- Why it's Great: Steaming preserves the chicken's natural moisture and nutrients, resulting in a clean flavor and tender texture without added fats.
The Golden Rule: Cook to 165°F (and No Further!)
Regardless of the method you choose for how to cook shredded chicken, the most crucial element for safety and texture is reaching the correct internal temperature. Chicken must reach an internal temperature of 165°F (74°C) to be safe for consumption, ensuring all harmful bacteria are eliminated.
The Instant-Read Thermometer is Your Best Friend: This tool is non-negotiable for perfectly cooked chicken. Insert it into the thickest part of the chicken, avoiding bones. As soon as it registers 165°F, remove the chicken from the heat. Every degree beyond this increases the risk of dryness. Overcooked chicken becomes stringy, tough, and notoriously difficult to shred.
The Crucial Pause: Why Resting Matters
Once your chicken hits that magical 165°F, resist the urge to shred it immediately. This resting period is a simple yet powerful step that transforms good chicken into great chicken.
Allow the cooked chicken to rest on a cutting board or plate for 5-10 minutes. During cooking, the muscle fibers contract, pushing juices towards the center. Resting allows these juices to redistribute back throughout the meat. Skipping this step means the moment you shred, all those precious juices will spill out onto your board, leaving you with dry chicken.
The Art of the Shred: Warmth for the Win
For the easiest and best-textured shred, tackle the chicken while it's still warm, ideally right after its resting period. As chicken cools, its muscle fibers tighten, making it much harder to pull apart. Shredded Chicken Success: Cuts, Cooking & Shredding for Versatility
Here are several efficient methods for shredding warm chicken:
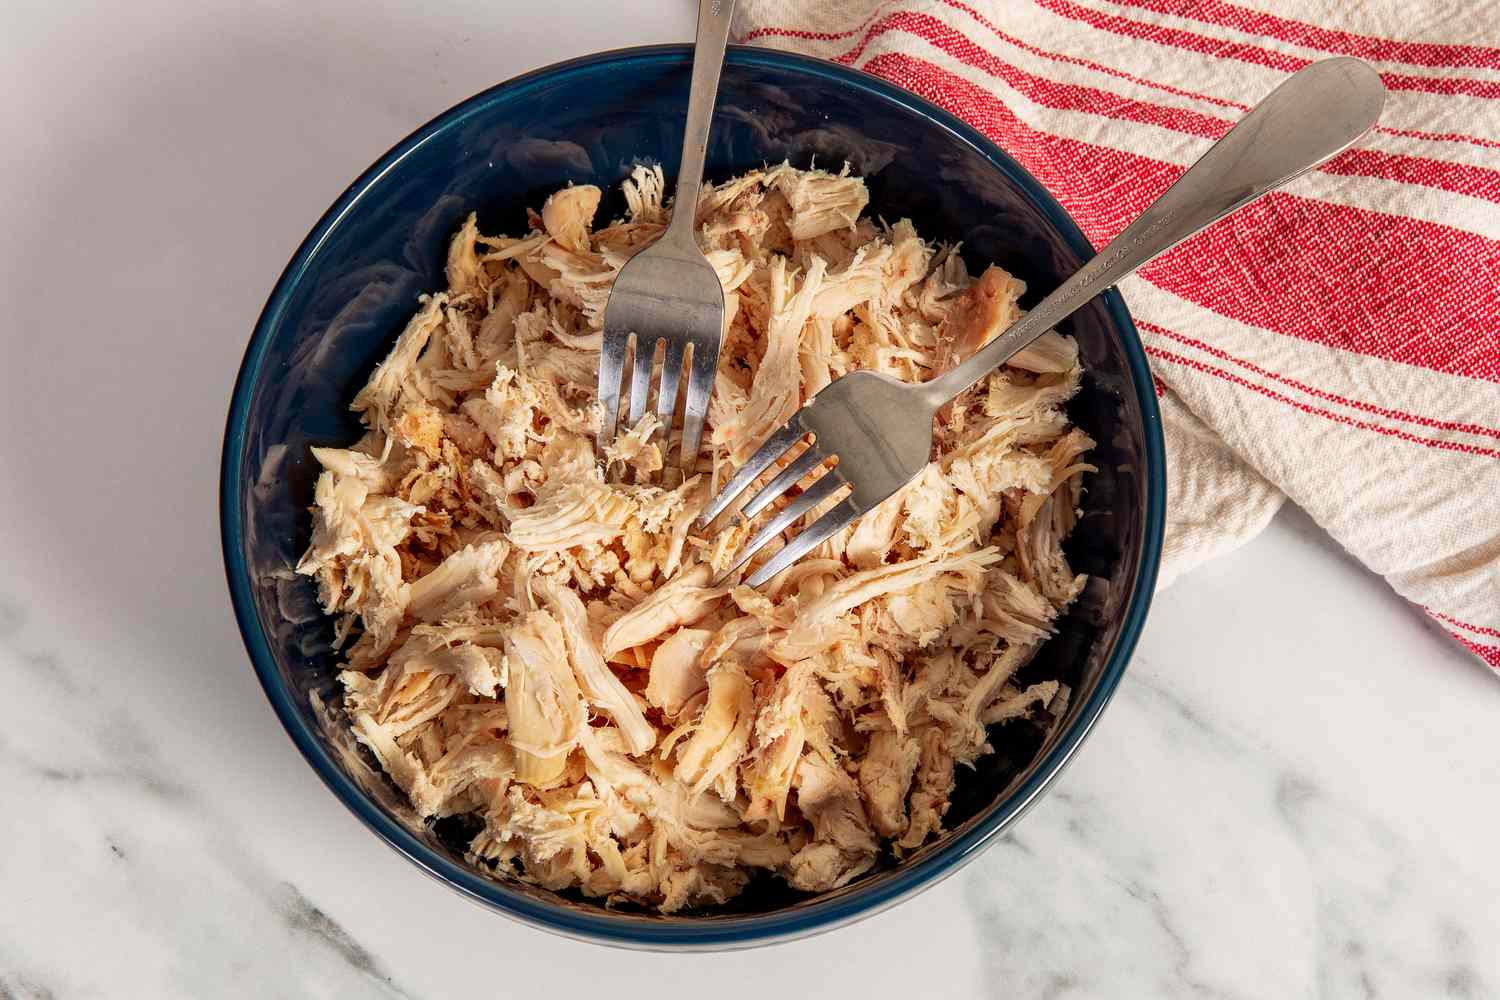
- Two Forks: The classic, reliable method. Use one fork to hold the chicken steady and the other to pull and tear the meat into shreds. This gives you good control over the shred size.
- Hand Mixer: For larger batches, a hand mixer (with paddle attachments) set on low speed is a surprisingly effective and fast way to shred chicken directly in the cooking pot or a large bowl. Be careful not to over-mix, which can turn it into a paste.
- Stand Mixer: Similar to a hand mixer but ideal for very large quantities. Place the chicken in the bowl of a stand mixer fitted with the paddle attachment and mix on low speed for a minute or two.
- Your Hands: Once the chicken is cool enough to handle, your fingers are excellent tools for pulling the meat apart. This method allows you to feel any tougher spots and separate them precisely.
The Finishing Touches & Culinary Versatility
Once your chicken is perfectly shredded, it’s ready for its starring role. Before incorporating it into a dish, give it a taste. You might want to add a final sprinkle of salt, pepper, or a fresh herb like chopped parsley or cilantro, especially if you plan to use it as a standalone topping.
The beauty of perfectly cooked shredded chicken lies in its adaptability. Toss it with BBQ sauce for sandwiches, mix it into a creamy chicken salad, add it to pasta sauces, enchiladas, or stir-fries. It’s also phenomenal for quick weeknight meals when you already have it prepped. Enjoy the convenience and deliciousness of your homemade, perfectly moist shredded chicken!
Conclusion
Learning how to cook shredded chicken that’s consistently moist, flavorful, and tender is a game-changer in any kitchen. By selecting the right cuts, seasoning proactively, employing gentle cooking methods like poaching or braising, and adhering to precise temperature checks, you can elevate this humble ingredient to culinary excellence. Remember to rest your chicken and shred it while warm to lock in those precious juices. With these essential secrets, you're now equipped to create versatile, delicious shredded chicken that will become a staple in your home cooking repertoire.
